


Hey there! As a supplier of UHP Diaphragm Valves, I often get asked about how to replace the diaphragm in these valves. It's an important maintenance task that can significantly extend the lifespan of your valve and ensure it operates at peak performance. So, let's dive right into it!
Why Replace the Diaphragm?
First off, you might be wondering why you'd need to replace the diaphragm in the first place. Well, over time, the diaphragm can wear out due to regular use, exposure to harsh chemicals, or high pressures. When this happens, it can lead to leaks, reduced flow control, and even valve failure. By replacing the diaphragm at the right time, you can avoid these issues and keep your valve running smoothly.
Tools You'll Need
Before you start the replacement process, you'll need to gather a few tools. Here's a basic list:
- A set of wrenches (make sure they fit the valve's nuts and bolts)
- A screwdriver (both flathead and Phillips, depending on the valve design)
- A clean cloth or rag
- A new diaphragm (make sure it's the correct size and material for your valve)
Step-by-Step Guide
Step 1: Shut Down the System
Safety first! Before you start working on the valve, you need to shut down the system and relieve any pressure in the pipeline. This will prevent any accidents or injuries during the replacement process. Make sure to follow all safety procedures and guidelines provided by your company or the valve manufacturer.
Step 2: Remove the Valve
Once the system is shut down and depressurized, you can remove the valve from the pipeline. Use your wrenches to loosen the nuts and bolts that hold the valve in place. Be careful not to damage the valve or the pipeline during this process. Once the valve is loose, carefully lift it out of the pipeline and place it on a clean, flat surface.
Step 3: Disassemble the Valve
Now it's time to disassemble the valve and access the diaphragm. Use your screwdriver to remove the screws or bolts that hold the valve body together. Once the valve body is open, you should be able to see the diaphragm. Carefully remove the old diaphragm from the valve, taking note of its position and orientation.
Step 4: Clean the Valve
Before you install the new diaphragm, you need to clean the valve thoroughly. Use a clean cloth or rag to wipe away any dirt, debris, or residue from the valve body and other components. Make sure to pay special attention to the areas where the diaphragm sits, as any dirt or debris in these areas can cause leaks or other problems.
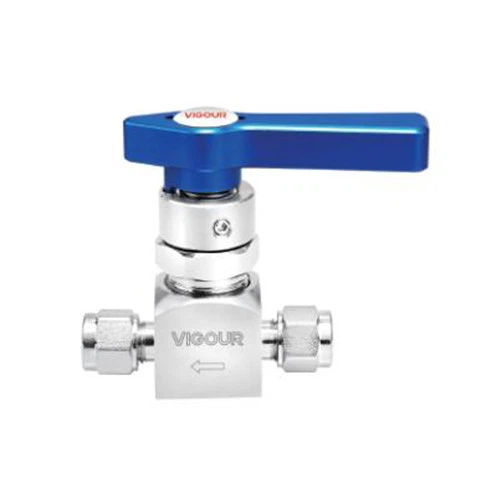
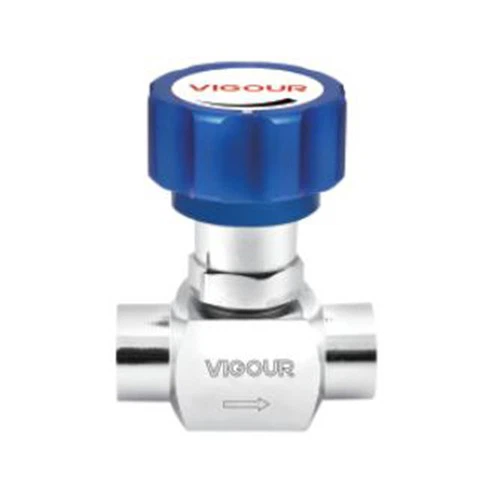
Step 5: Install the New Diaphragm
Once the valve is clean, you can install the new diaphragm. Make sure to align the diaphragm correctly with the valve body and other components, following the same position and orientation as the old diaphragm. Use your screwdriver to secure the diaphragm in place, making sure it's tight and secure.
Step 6: Reassemble the Valve
After the new diaphragm is installed, you can reassemble the valve. Use your screwdriver to replace the screws or bolts that hold the valve body together, making sure they're tightened securely. Once the valve is reassembled, you can carefully lift it back into the pipeline and use your wrenches to tighten the nuts and bolts that hold it in place.
Step 7: Test the Valve
Once the valve is installed, you need to test it to make sure it's working properly. Slowly open the system and check for any leaks or other problems. If you notice any issues, shut down the system immediately and repeat the replacement process or contact a professional for assistance.
Tips and Tricks
- Always use the correct tools and equipment for the job. Using the wrong tools can damage the valve or cause other problems.
- Make sure to follow all safety procedures and guidelines provided by your company or the valve manufacturer.
- Keep the valve and its components clean and free of dirt, debris, and residue. This will help prevent leaks and other problems.
- If you're not sure how to replace the diaphragm or if you encounter any problems during the process, don't hesitate to contact a professional for assistance.
Conclusion
Replacing the diaphragm in a UHP Diaphragm Valve is a relatively simple process that can be done with a few basic tools and some basic knowledge of valve maintenance. By following the steps outlined in this guide and using the tips and tricks provided, you can ensure that your valve operates at peak performance and lasts for many years to come.
If you're in the market for a new UHP Diaphragm Valve or need replacement diaphragms for your existing valves, we've got you covered. We offer a wide range of UHP Diaphragm Valve products and accessories to meet your needs. Our valves are made from high-quality materials and are designed to provide reliable performance in even the most demanding applications.
We also offer High Pressure Gas Relief Valve and Low Pressure Diaphragm Valve options for different pressure requirements. Whether you need a valve for a high-pressure gas system or a low-pressure application, we have the right solution for you.
If you have any questions or would like to learn more about our products, please don't hesitate to contact us. We're here to help you find the right valve for your needs and provide you with the support and service you deserve. Let's start a conversation and see how we can work together to meet your valve requirements!
References
- Valve Manufacturer's Manual
- Industry Best Practices for Valve Maintenance


